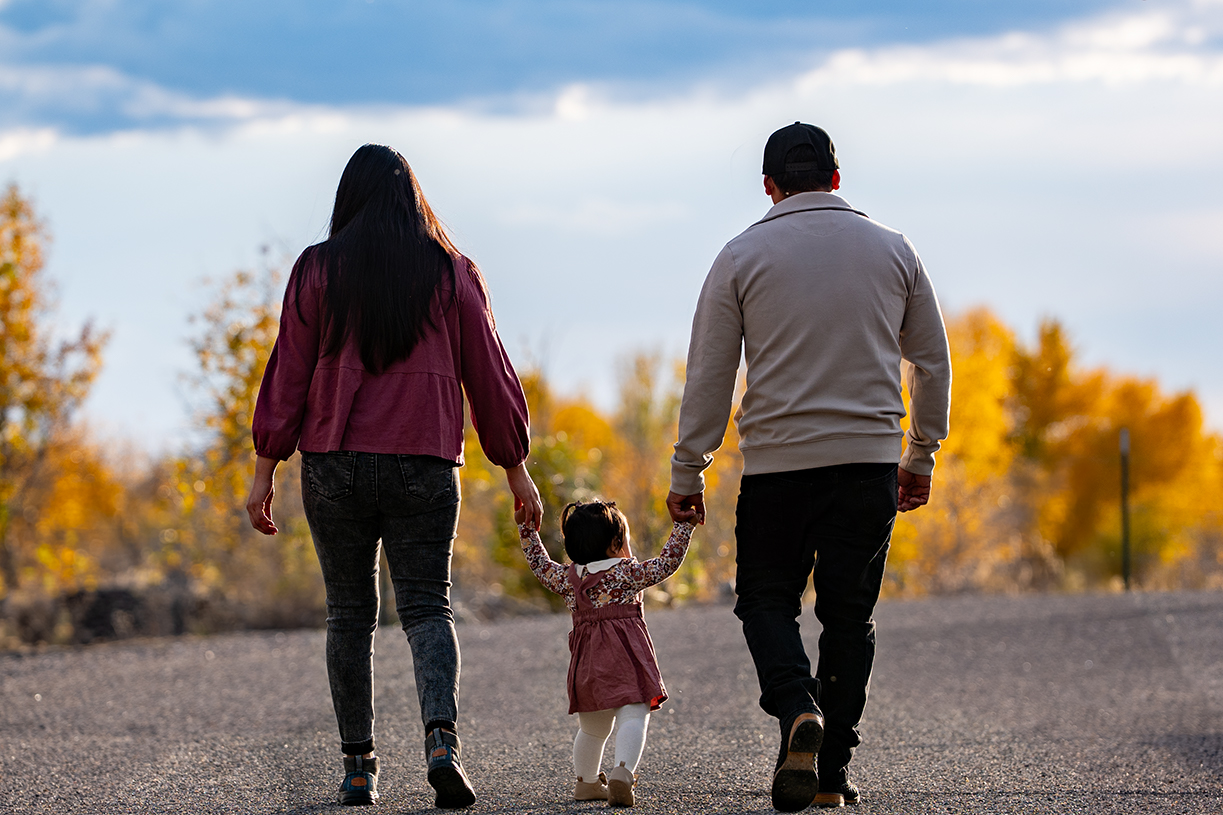
Monkey Rock Fall Family Photos with HDR Photography
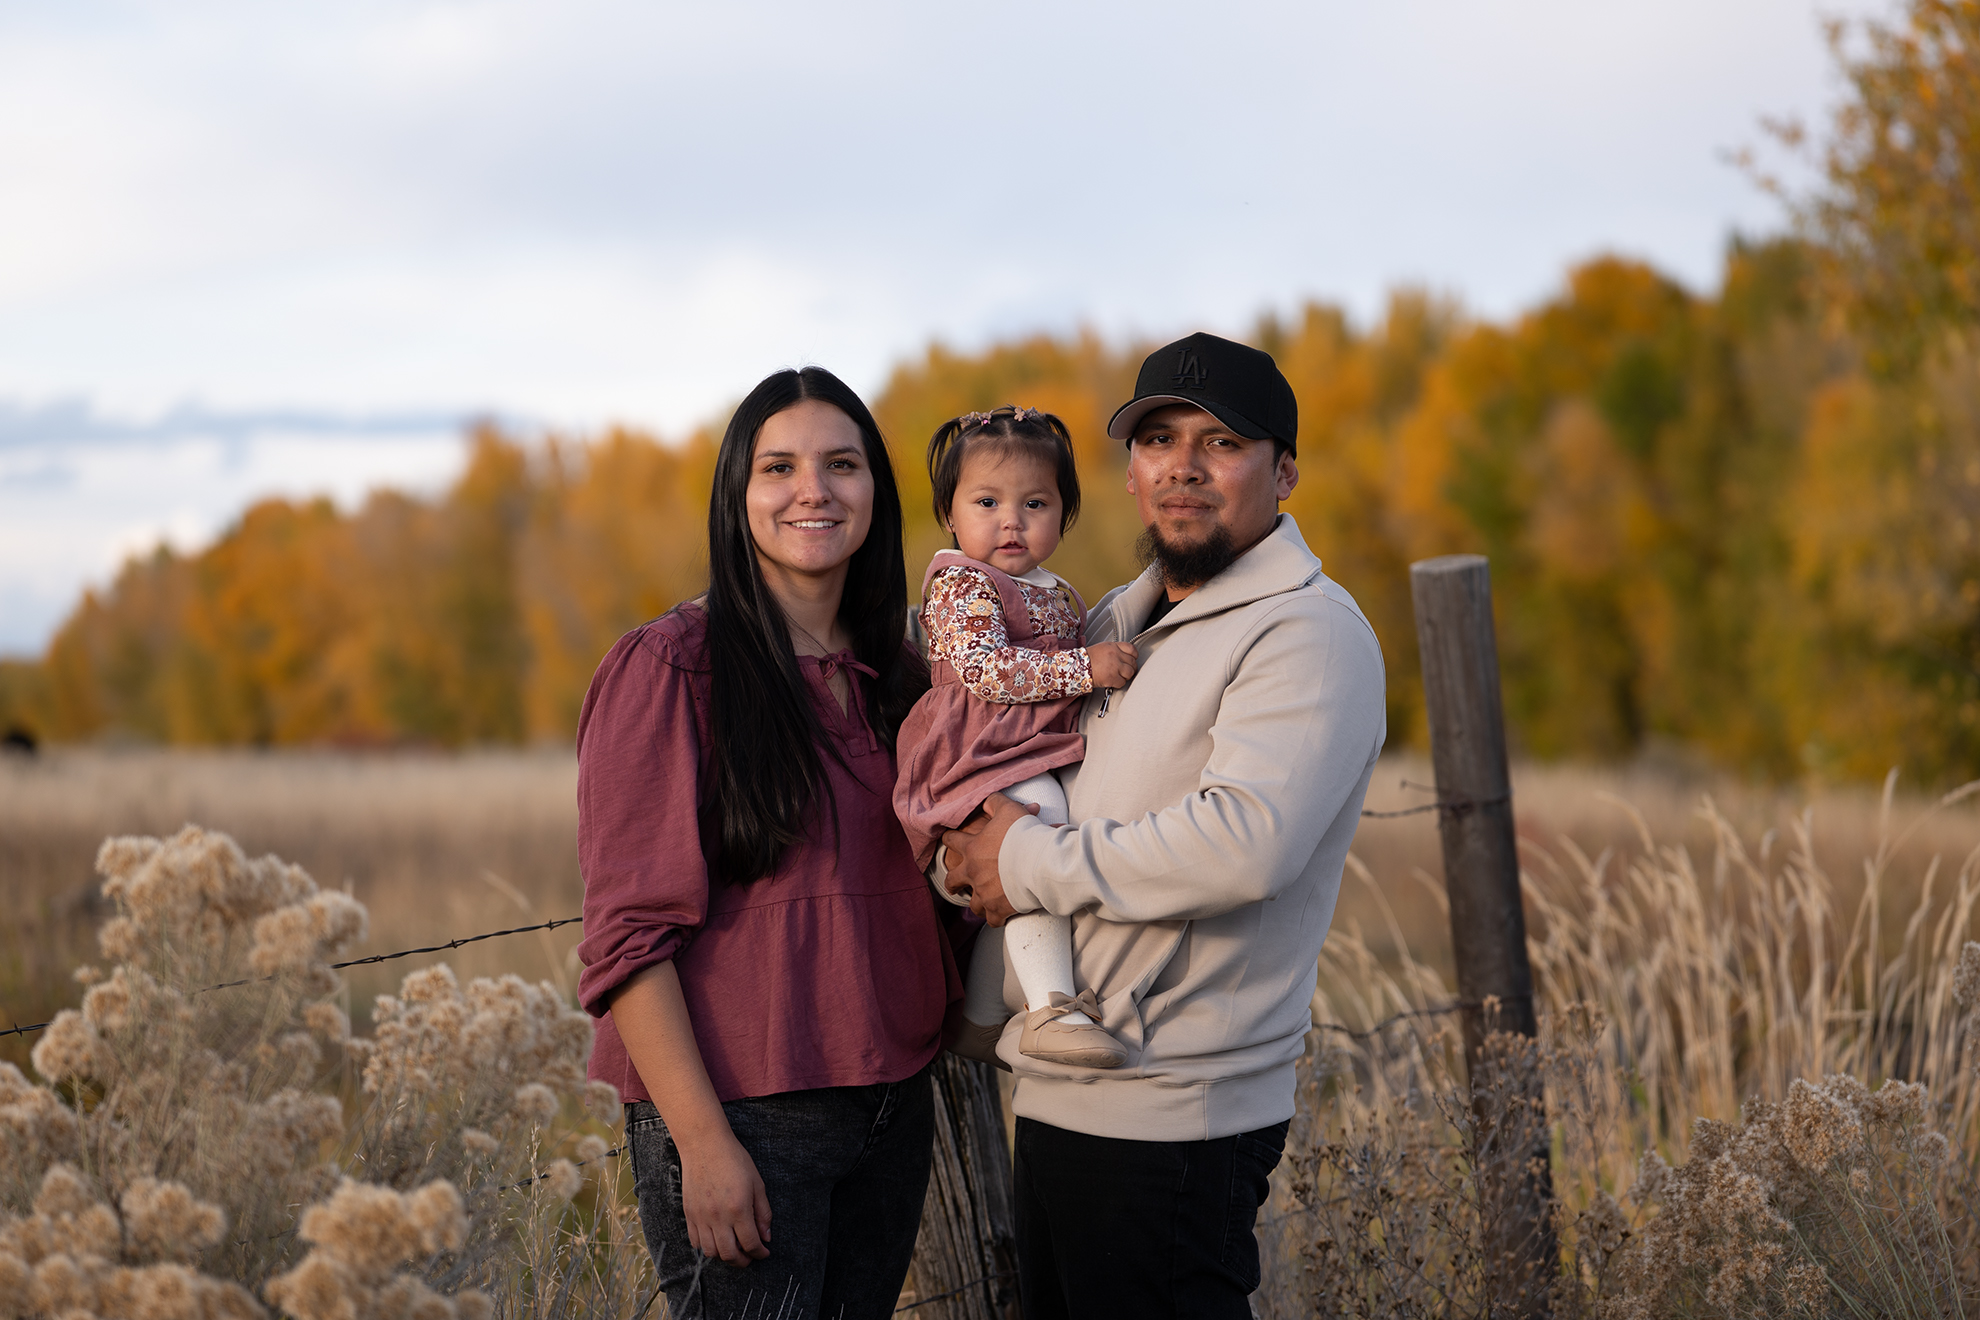
Where Monkey Rock Transforms Fall Into Magic
Late on a fall afternoon, my sister called in a favor — she wanted family photos taken out at Monkey Rock, a striking natural landmark sitting just beyond the quiet town of Newdale. I'd been to Monkey Rock before, so I knew the terrain and had a rough sense of how the light would behave. We headed out around 6pm, our nephew in tow, under a sky that had pulled a soft blanket of clouds across the sun — diffused, even light that photographers quietly hope for. I decided to shoot everything as five-stack HDR composites, a technique I've grown genuinely obsessed with for the way it pulls texture and tonal depth out of a scene, making landscapes feel almost three-dimensional. Some of the shots came out remarkably compelling — the rock formations took on a brooding, painterly quality that I wasn't expecting. But standing there reviewing the images, I kept wrestling with the same nagging thought: the surreal, hyper-detailed character of HDR photography might simply be the wrong tool for intimate family portraits. The landscape loved it. The people, maybe less so.


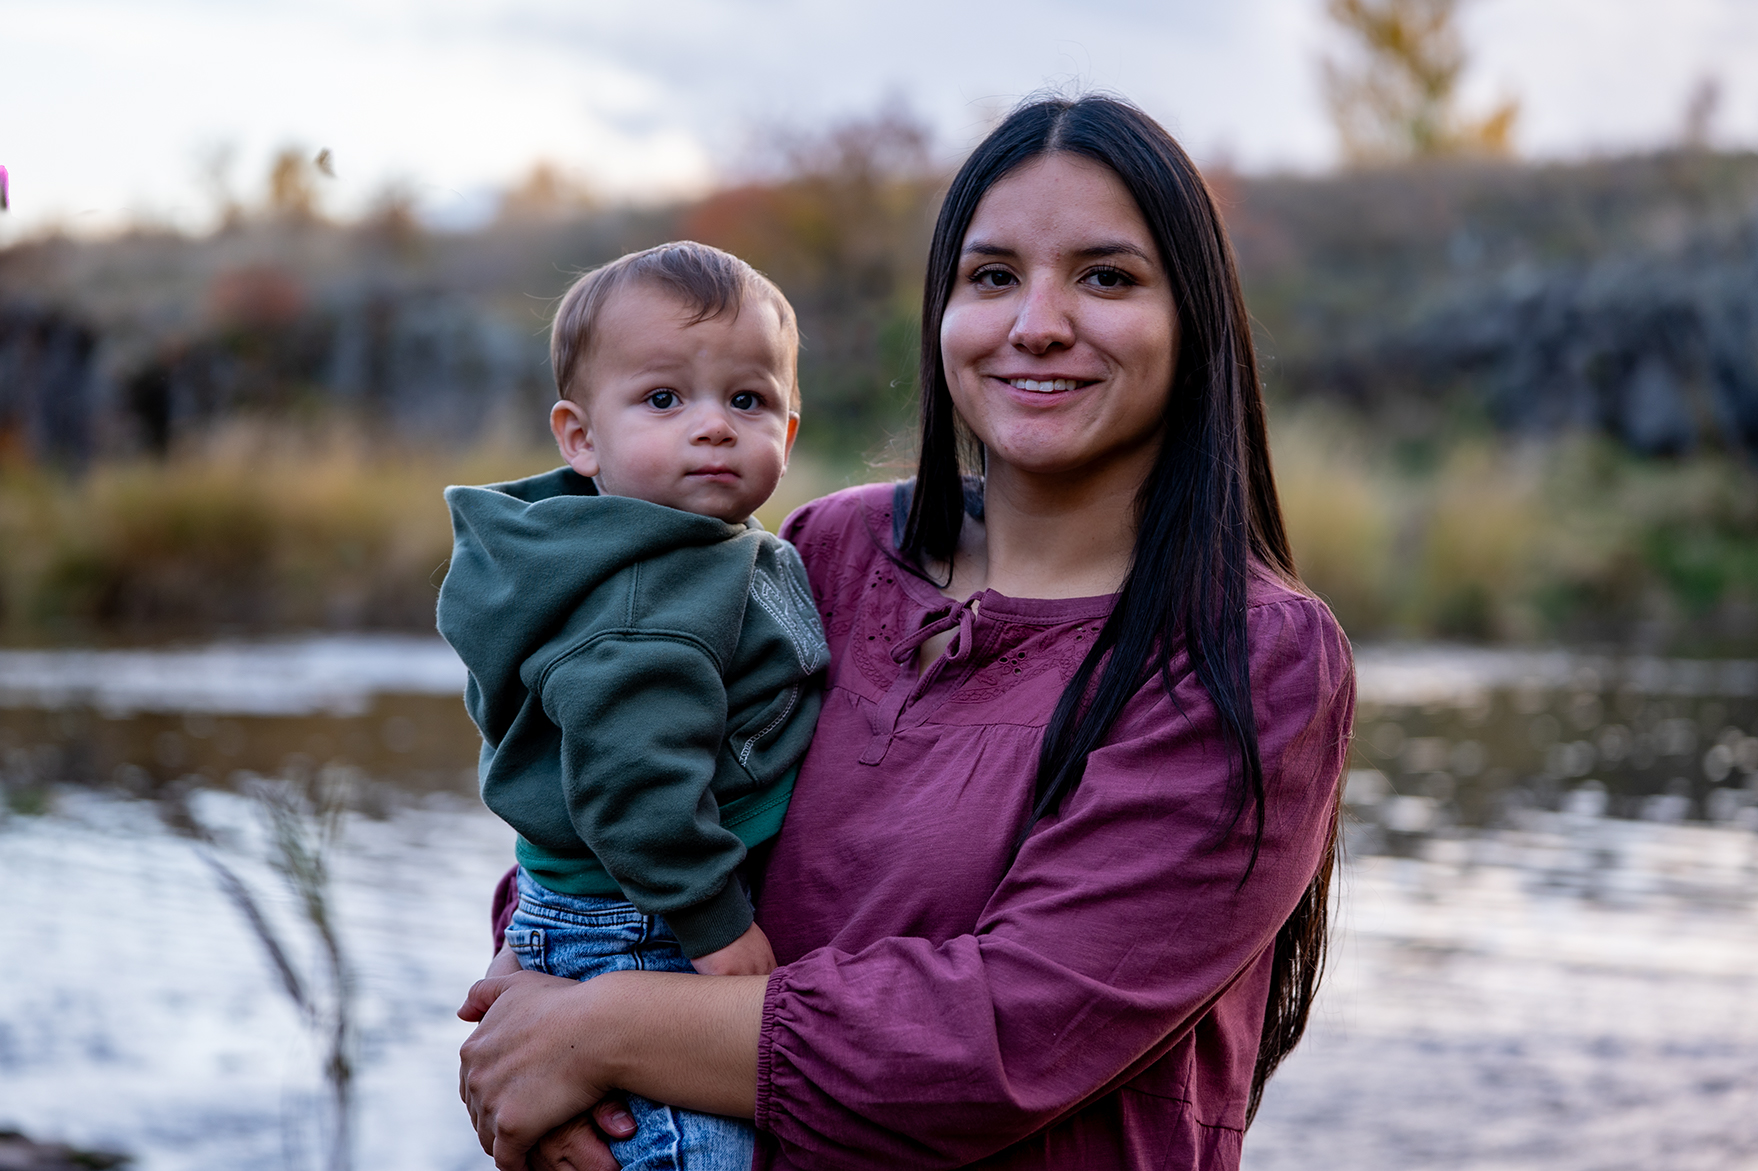
Lighting and Composition
Getting to the River
We parked on the gravel shoulder just outside of Newdale and walked across the open field. It was late September, so the air was cool and smelled like sage and dry dirt. Monkey Rock is not just a single boulder; it is an entire local hangout right on the river, complete with a swimming hole, trees, and old irrigation ditches.
According to AllTrails and regional geographic records, the area sits on a mix of public and agricultural land. The walk down to the water is short but a bit rough:
- Loose rocks and dirt
- Dry grass
- A few ditches to jump over
Our nephew just sprinted ahead toward the water, which is honestly the best way to handle a place like this. I took my time, looking for good spots along the riverbanks and checking how the cloudy light was hitting the trees and the water.
Trying Out HDR on the Landscape
I started taking photos near the water. I was shooting five frames for HDR at different exposure levels (-2, -1, 0, +1, and +2 stops), and I did it all handheld. I definitely regretted that later.
The landscape looked awesome with this technique. You could see every little detail in the rocky banks, the trees, and the movement of the river. Plus, the overcast sky actually kept some texture instead of just looking totally blown out and white. I moved around to get different angles as it started getting colder. Since the Bureau of Land Management oversees much of the surrounding public land, I had plenty of room to roam and set up my shots without fences getting in the way.
The Problem with HDR Portraits
Things got tricky when I tried taking photos of my family hanging out by the swimming hole. HDR is great for showing off cool textures in nature, but it does not do humans any favors.
The same settings that made the riverbanks look incredibly detailed made people's skin look completely unnatural. The photos where my family was standing in softer, shaded light turned out okay, but if the ambient light hit them weirdly, the editing was a nightmare. I tried my best to use the trees to soften the lighting on everyone.
Heading Back
By the time it got darker and we headed back across the field to the truck, I had taken a few hundred photos and realized what worked and what didn't.
- The landscape shots: Turned out great. The river, trees, and rocks looked textured and interesting.
- The family portraits: Definitely a mixed bag.
It was a fun afternoon, but I definitely learned the hard way that heavy HDR processing is way better suited for rivers and geology than it is for people.

Leaving Monkey Rock, Lessons in Light and Stone
Some of the HDR shots from Monkey Rock truly surprised me—when the light was gentle and the exposures balanced, the basalt’s texture and the sky’s subtle gradients came alive in a way that felt honest to the place. The main challenge, though, was taming blown-out highlights and whites, especially in brighter frames. The best results came from dimmer, softer light, where the edits felt more natural and forgiving. Next time, I’ll skip the five-frame bracket and stick to a tighter three-stack, focusing on the mid-tones. More importantly, I’ll pay closer attention to subject placement and timing, letting the landscape’s shifting light do more of the work. And I’ll bring a tripod—handheld stacking is a gamble that rarely pays off when precision matters.